
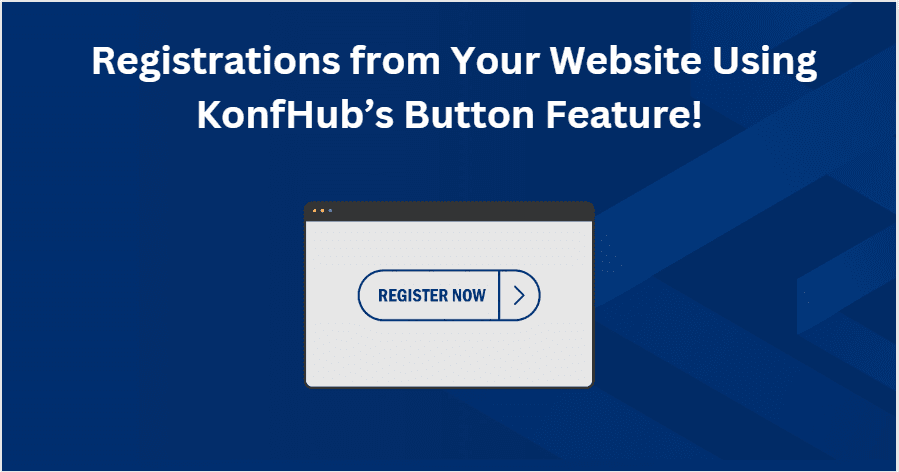
Registrations From Your Website Using KonfHub’s Button Feature!
As an event organizer, you want participants to have the smoothest registration experience possible. Instead of redirecting users to another platform, wouldn’t it be great if they could register directly from your own event website?
With KonfHub’s Registration Button feature, you can easily integrate a customizable registration button on your website in just a few clicks. This makes registrations simpler for your audience while giving you full control over the user experience.
Why Use KonfHub’s Registration Button?
Registrations on your own website – No need to send participants elsewhere.
Fewer clicks for participants – A registration pop-up opens directly on your site.
Quick & simple setup – Create and integrate the button in minutes.
Customization & branding - Customize with your logo, brand colors, and more!
Step-by-Step Guide to Adding a Registration Button
Step 1: Access the Developers Section
After creating your event in KonfHub, head to the event admin dashboard. From the left menu, click on “Developers” → “Reg. Buttons.”

Step 2: Create a Button
Click on “Create Button” to start generating your registration button.
Step 3: Customize Button Text & Button Appearance
Choose the call-to-action text that fits your event best. Match the button to your brand by selecting colors and styles that blend seamlessly with your website’s design.

Step 5: Select Ticket Type
Assign the ticket(s) you want linked to the button.
Allow single or multiple ticket types.
Optionally hide ticket descriptions for a cleaner look.

Step 6: Generate the Button
That’s it - click “Create” to finalize your settings. Your button is now ready to integrate in your event website.
Step 7: Copy and Integrate the Code
KonfHub will generate a snippet of code for your button.
Copy the code from the “Button Code” section.
Paste it into your website’s HTML editor or CMS at the desired location.
Save changes — your registration button will now be live!

As you can see, with just a few simple steps, you can add KonfHub’s Registration Button to your website:
Create a Button – Select tickets and customize the button text/design.
Copy & Paste the Code – Add it directly into your website.
Start Receiving Registrations – Participants can now register without leaving your site.
With this feature, you’ll offer a seamless experience that benefits both you and your participants. Try it now: KonfHub