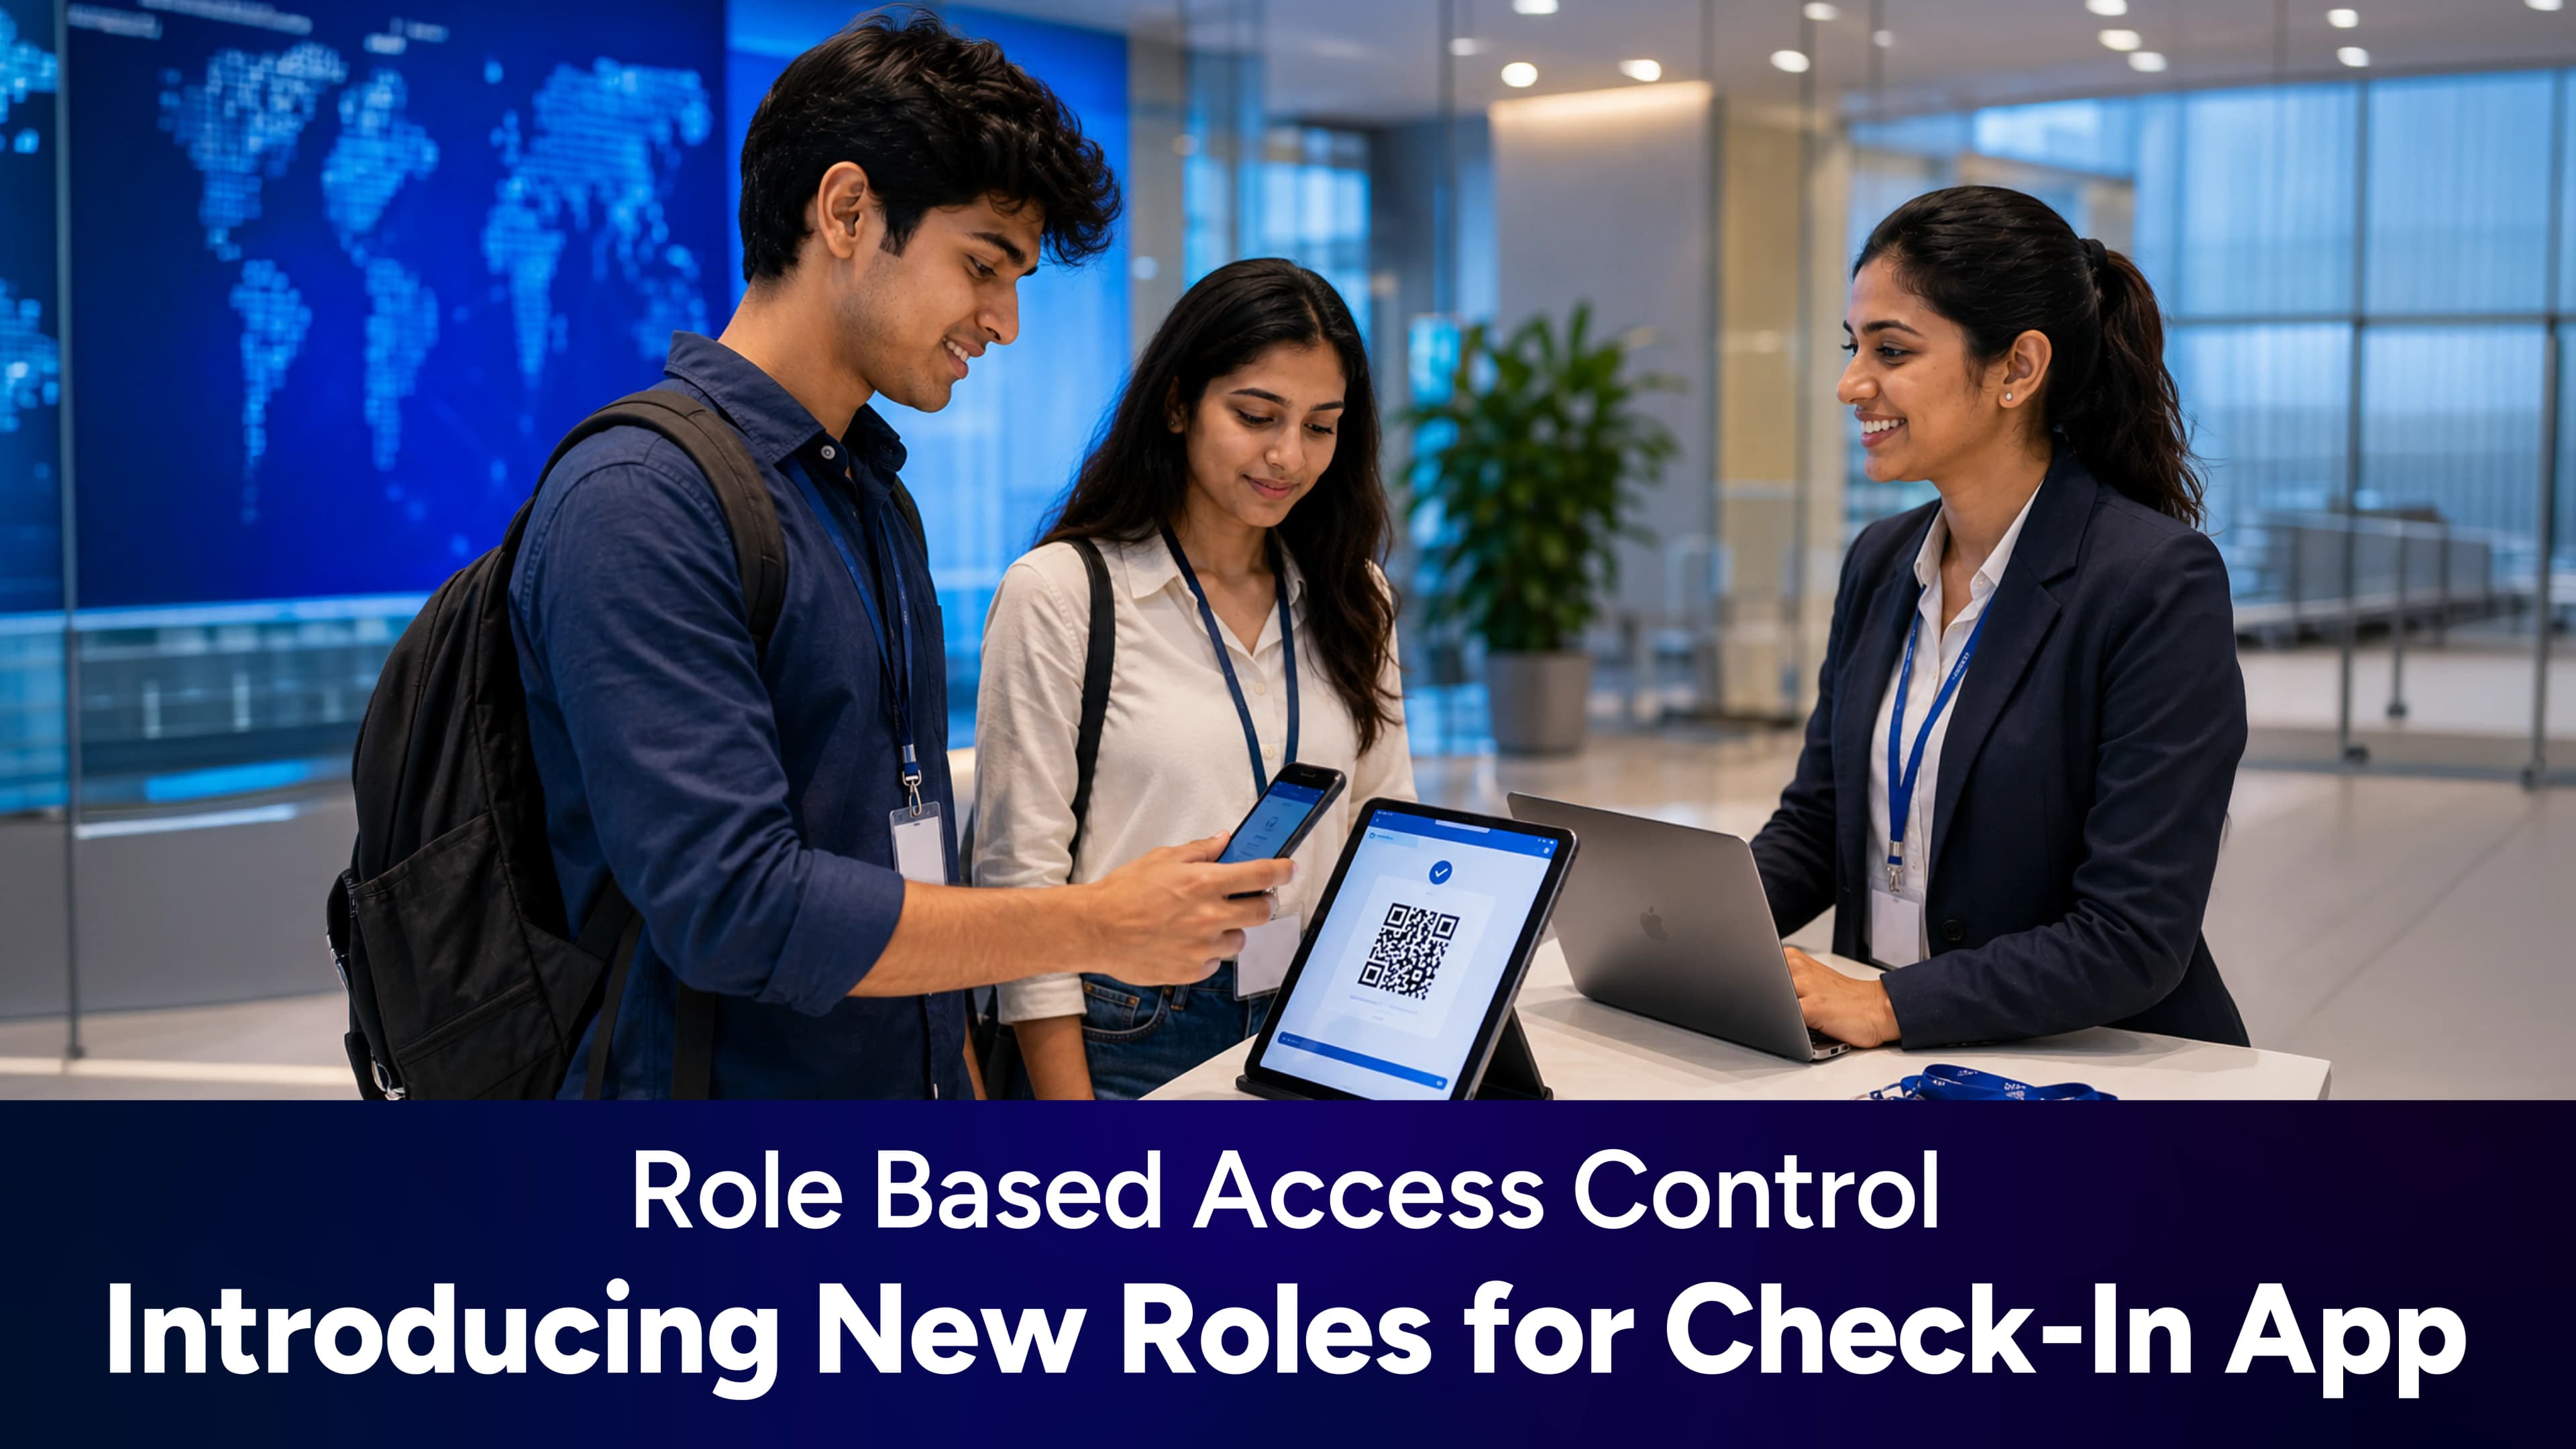

Enhance Large Event Management with Konfhub's Multi Check-In Feature
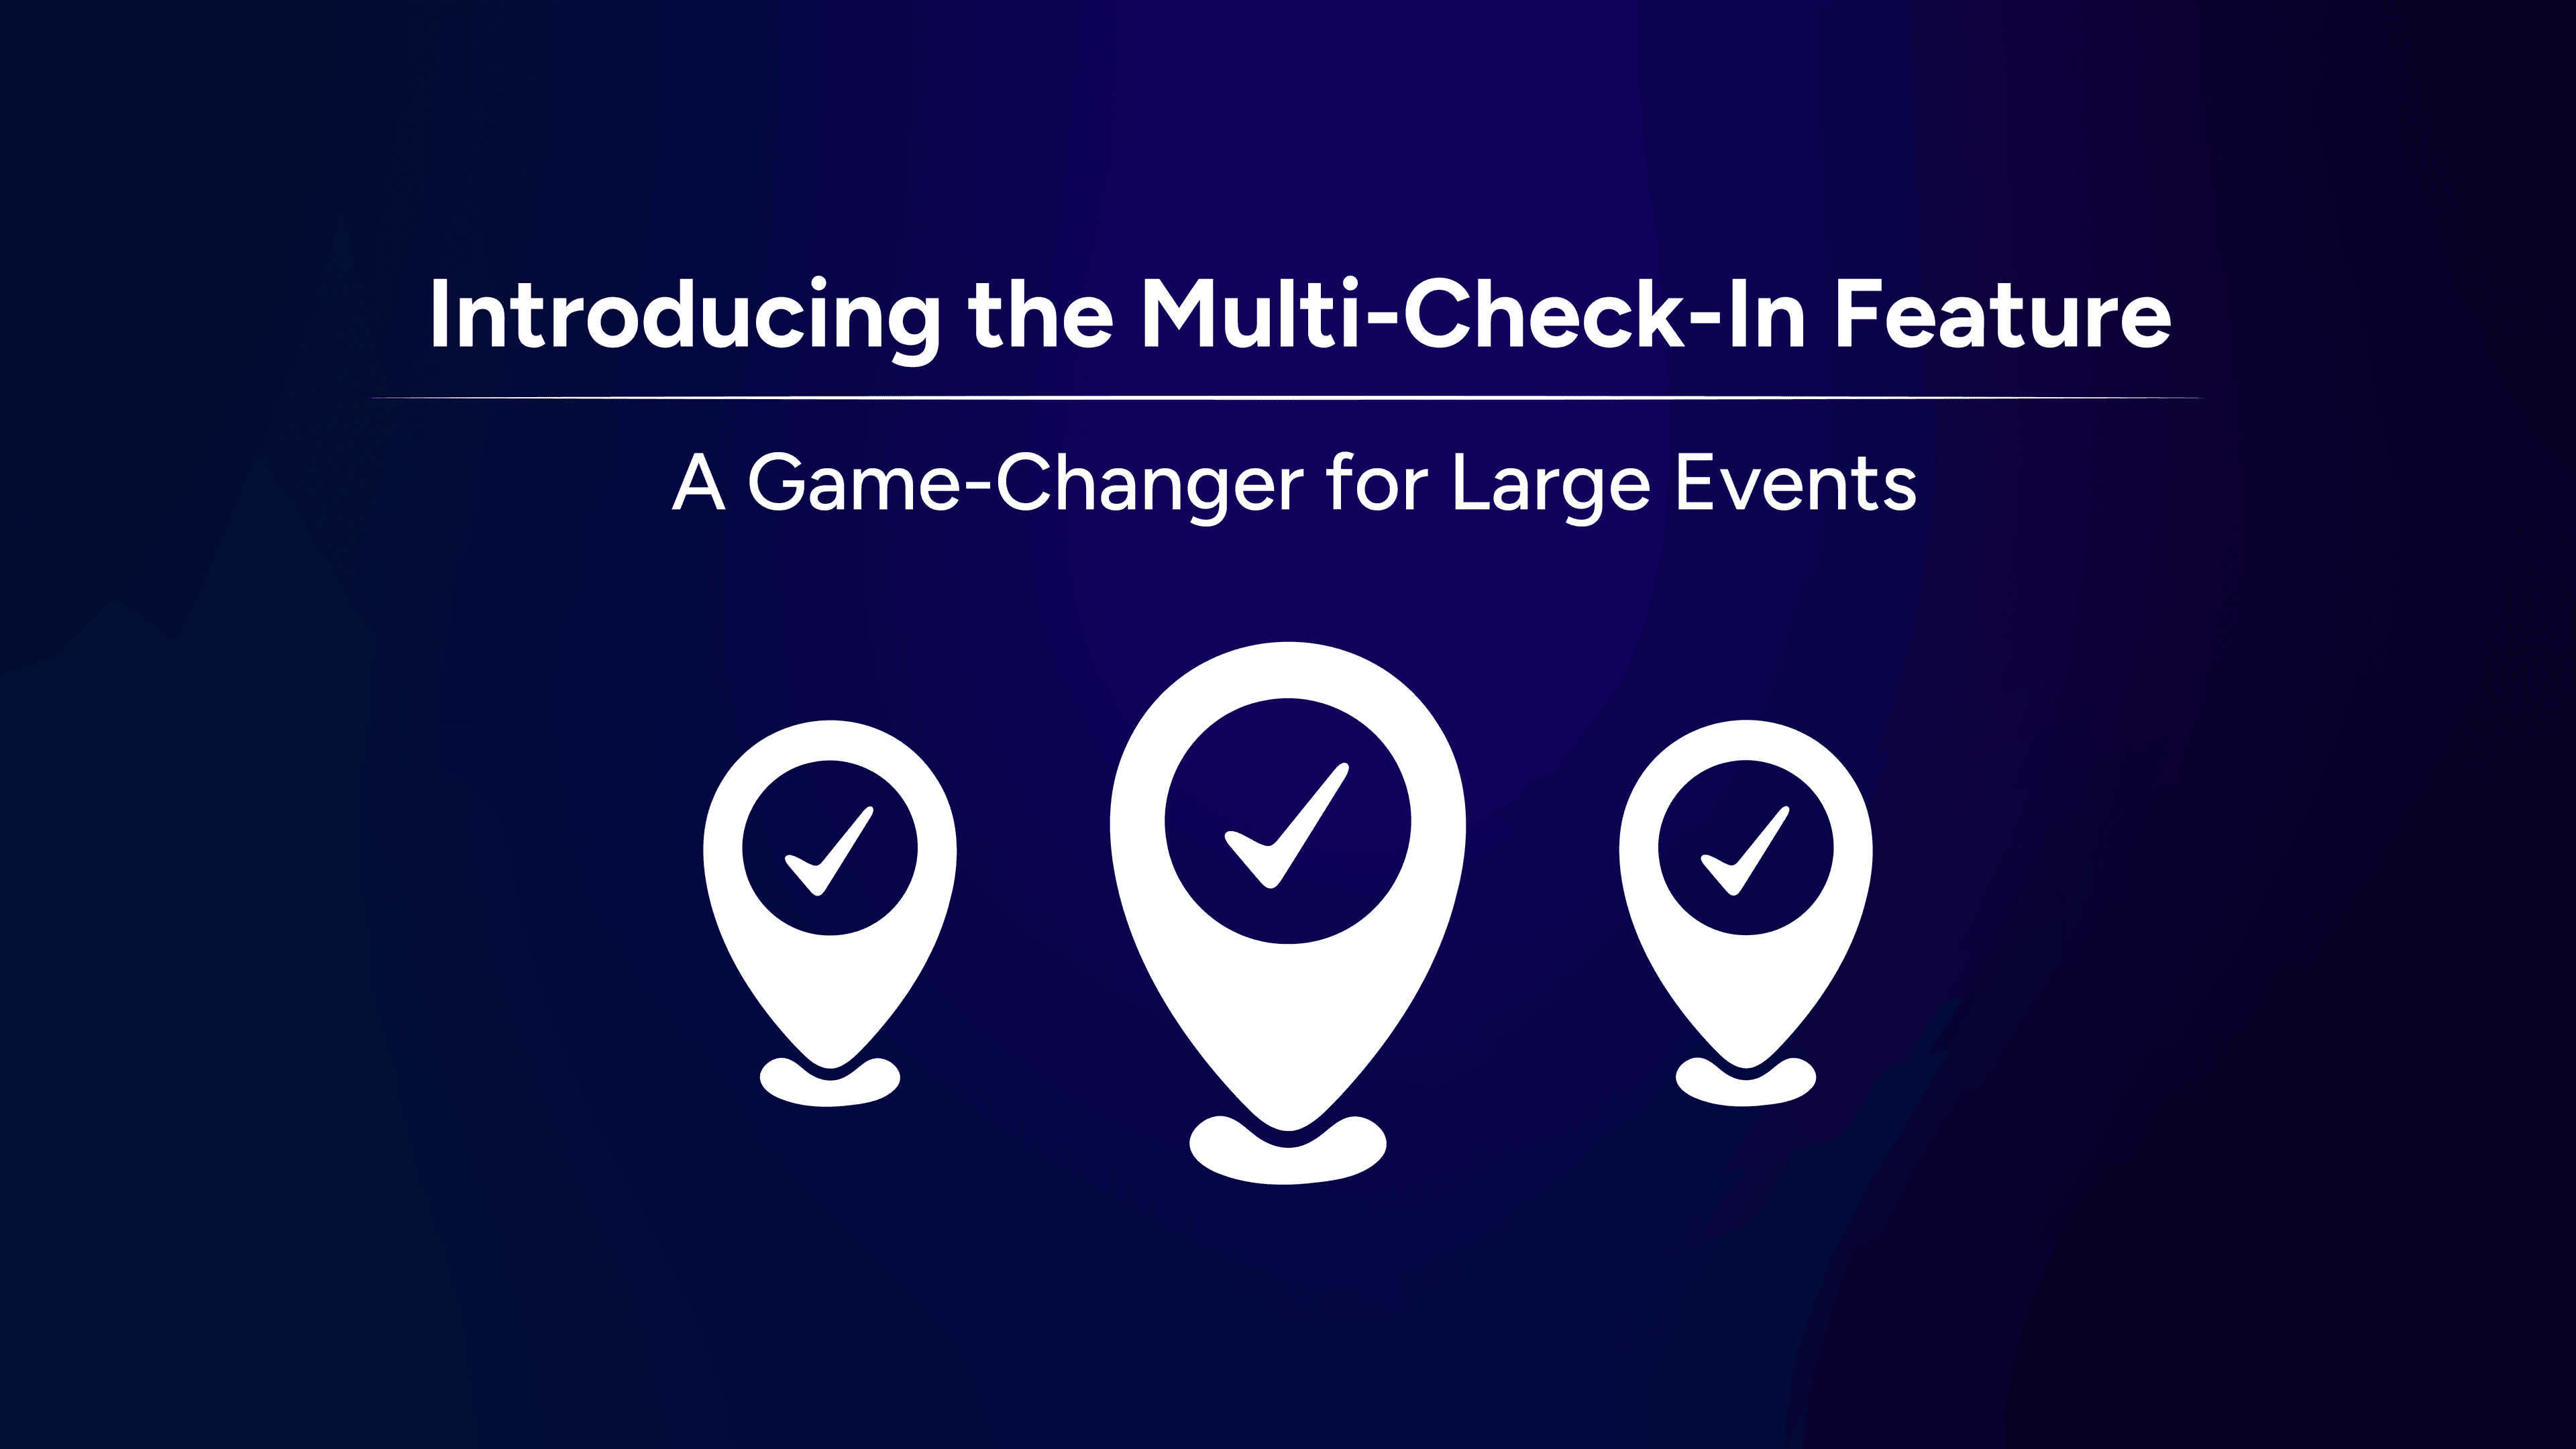
KonfHub is excited to announce the release of our Multi-Check-In feature—an essential addition to our check-in app designed specifically for large-scale events. This feature streamlines the check-in process, making it more efficient, flexible, and hassle-free for both event organizers and attendees.
In this blog, we’ll explore why multi-check-in is a must-have, the key scenarios where it proves invaluable, and a step-by-step guide on how to set it up for your events.
Why and Where to Use Multi-Check-In?
For small in-person events like meetups or small conferences, a single check-in at the registration desk is usually sufficient. However, for larger and more complex events, check-in requirements become more sophisticated. Here’s where multi-check-in becomes essential:
1. Multi-Day Events
If your event spans multiple days, attendees may register for one, some, or all of the days. With multi-check-in, you can set up check-ins for each day, ensuring accurate tracking of attendance per day.
2. Hybrid Events (Online & In-Person)
Managing both virtual and physical attendees? Multi-check-in allows seamless check-ins across both formats without any confusion.
3. Multiple Entry Points & Ticket Categories
Large events often have different entry points and ticket categories (e.g., VIP and General Admission). Multi-check-in enables you to:
Conduct an initial check-in at a security checkpoint
Perform the main check-in at the reception
4. Different Sessions & Venues
If your event includes conferences, workshops, or multiple venues, multi-check-in ensures smooth tracking of attendees for each session and location.
5. Swag, Lunch, or Goodie Distribution
If attendees purchase add-ons like swags or meal passes, multi-check-in helps track whether they’ve received their perks.
6. Access Control & Footfall Tracking
For areas with restricted access (e.g., VIP lounges, speaker rooms), you can create dedicated check-ins to regulate entry. Additionally, sponsors can track session footfall to measure attendee engagement.
Key Benefits of Multi-Check-In
For large events, multi-check-in isn’t just a convenience—it’s a necessity. Here’s why:
Optimized Attendee Flow & Security: Monitor check-ins across multiple entry points, understand peak times, and prevent unauthorized re-entry.
Eliminate Errors & Duplications: Staff can use multiple devices for check-ins without concerns about duplication.
Smoother Event Experience: Faster processing at different locations ensures a seamless experience for attendees.
Granular Attendance Insights: Get real-time data beyond just overall attendance—track check-ins per session, venue, or access point.
How to Do Multi-Check-In: A Step-by-Step Guide
Having discussed when to use multi-check-ins and the benefits, now it’s time to go into specifics of how to set up multi-check-in for your event. Believe it or not - it is super-easy and straightforward to set it up in the KonfHub Check-in App. Let’s take you through the process step-by-step.
Step #1: Access “List of Check-ins” for Check-in App for your event
From your event admin dashboard, go to “App & Utilities” -> “Check-in App”. On clicking that menu item, go to “Check-in App Configurations” and you’ll find “List of Check-ins” as an accordion there.

You’ll see “Event Check-in” as the default there - that’s the central or main checkin for your event. From Quick Actions, you can edit the Check-in Name, Check-in Mode (Manual or Silent mode) and Print Card settings. You can also leave it to default.
Consider that yours is a two day event. For the first day check-in, you can change the name from “Event Check-in” to “Day 1 Checkin”.
Step #2: Click on “Add Check-in”
In the “List of Check-ins” accordion, you’ll see a button “Add Check-in” - click on that to add a new check-in.
For Check-in Name, edit it to “Day 2 Checkin” and choose do you want Manual checkin or Silent checkin:
Manual check-in requires users to manually click the check-in button after scanning a valid QR code. Use Case: Ideal for VIP or restricted-access events where organizers manually verify attendees before check-in.
Silent check-in lets the volunteer capture check-in automatically after scanning a valid QR code. Use Case: Ideal for high-traffic events where attendees scan tickets for instant check-in, ensuring a smooth flow.
You can also enable Print Card and configure the details there.

Once you add Day 2 Checkin, the List of Check-ins shows both the Day 1 and Day 2 checkins.

That’s it - you have now configured “multi-check-in” for your two day event, with different check-ins for Day 1 and Day 2 of your event.
Now let’s see how the check-in app can be used with multi-check-in.
Step #1: Access the Check-in App
Go to https://checkin.konfhub.com and provide access code to your event to access the checkin app for your event.
Step #2: Choose “Any”, “Day 1 Checkin”, or “Day 2 Checkin”
In the check-in app, you’ll now see “Any”, “Day 1 Checkin”, or “Day 2 Checkin” as options.


If you want the staff in the check-in desk to choose either of the check-in, then select “Any”. Now, an attempt to check-in will show an option to choose “Day 1 Checkin” or “Day 2 Checkin” when you click on “Check In” for a particular person.

If you choose Day 2 Checkin, then any check-in done will always be for the Day 2 Checkin alone. Yes, that’s so easy!
As you can see, setting up “Multi-check-in” and using it is super easy and configurable/customizable in KonfHub.
Conclusion
For any large-scale event with multiple entry points, different ticket categories, or complex session tracking, a single check-in system simply isn’t enough. With KonfHub’s Multi-Check-In feature, you can enhance efficiency, improve attendee experience, and gain deeper insights into your event.
Try it out today and revolutionize the way you manage check-ins!